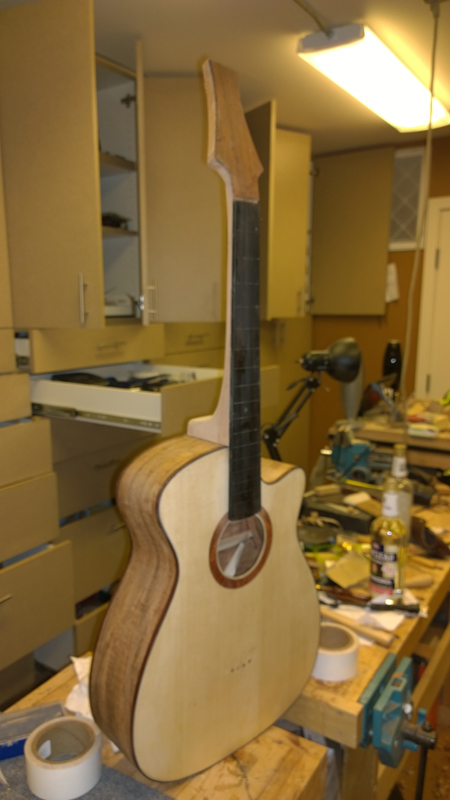
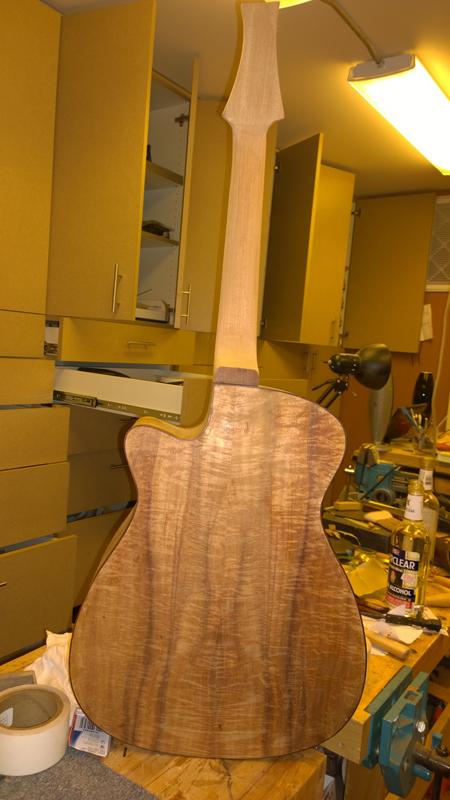
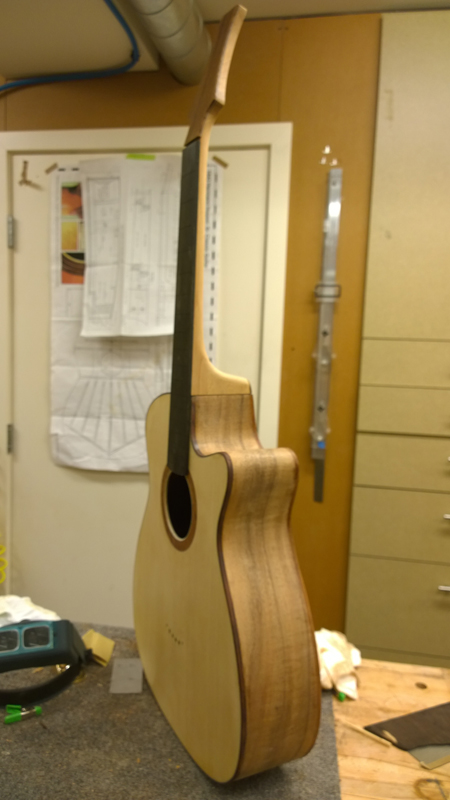
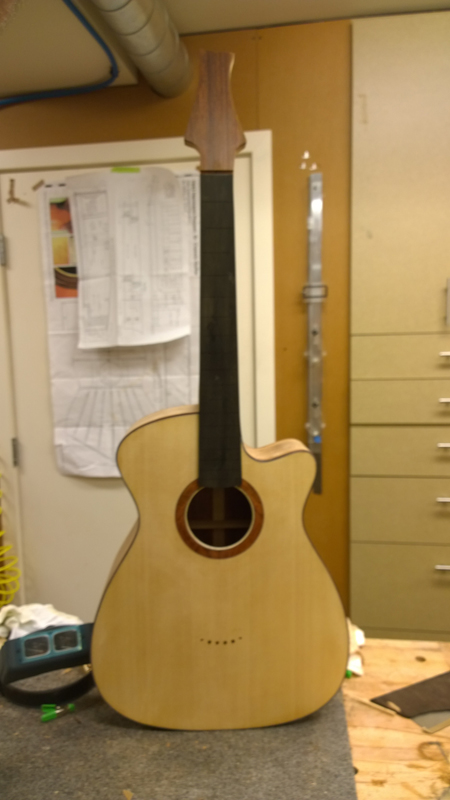
Build thread for first Gore SS from the plans in the book.
-
- Blackwood
- Posts: 552
- Joined: Mon Jan 21, 2013 2:59 am
- Location: Seattle
- Contact:
Re: Build thread for first Gore SS from the plans in the boo
Thanks guys!
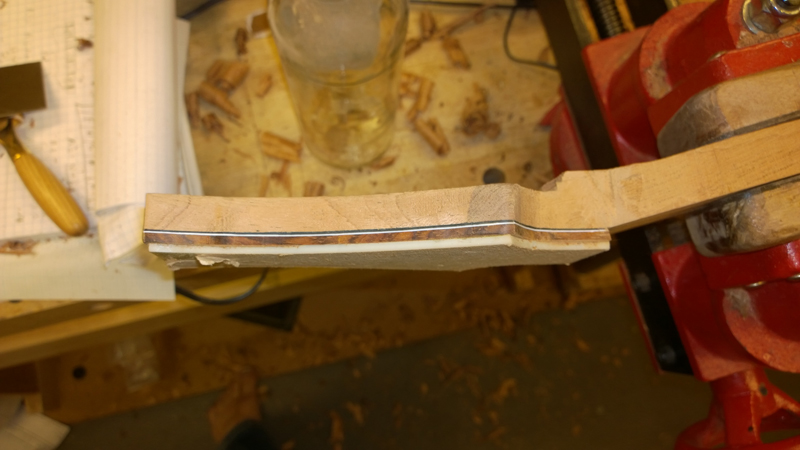
Well I am getting closer; I glued up a stack of veneer and white and black fiber for the head stock. I pressed it in one operation using LMI white glue. The book suggested epoxy, but given that this was fiber sheets I did not think that it would be relatively stable with the moisture in the glue. The glued up stack did not warp.
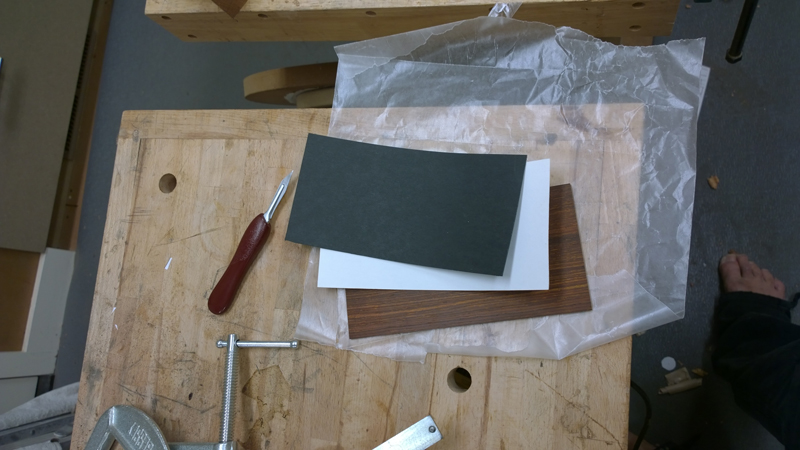
I made a 15% wedge and planed the nut side of the veneer.
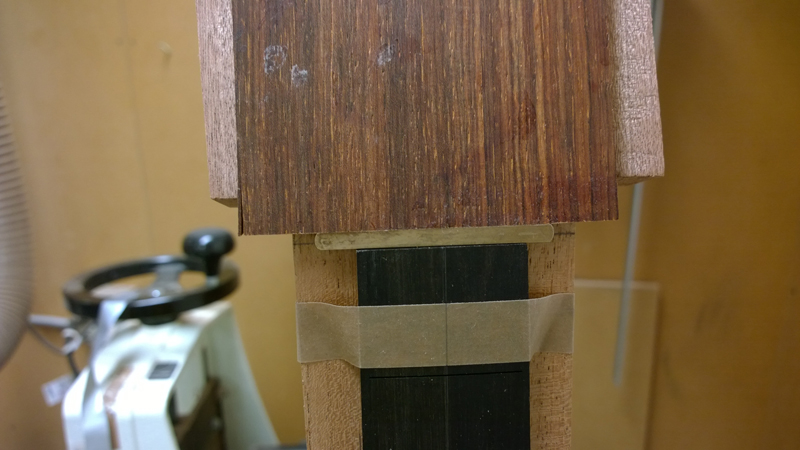
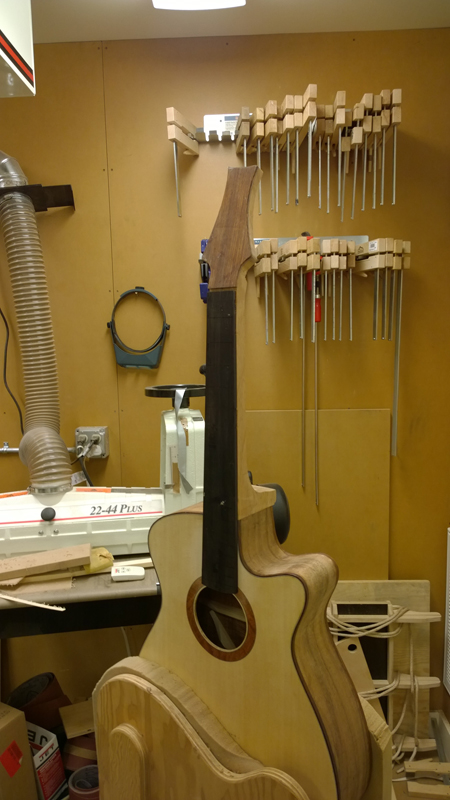
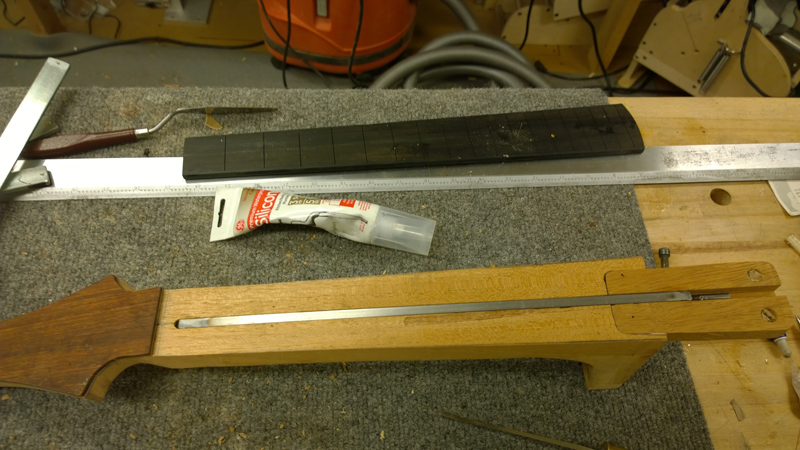
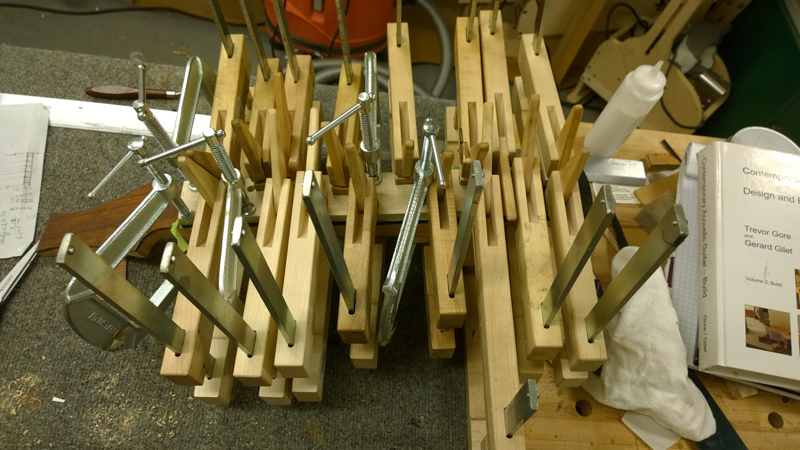
Before gluing on the head stock veneer I made triply sure that I had the fret board clamped in the right angle as I used the fret board, and a brass bar to position the head stock veneer. Then I glued it on with a bunch of clamps.
I roughly cut the headstock shape out with my band saw and used my safe_T planer to get the head stock thickness close.
I have had the fret board stuck to the neck with a couple of pieces of double sided tape. To finish the bolt on extension I need to remove the fret board. Before doing so I drilled four 1/32" alignment pin holes through a couple of fret slots into the neck. Not so deep that they will come out the other side when I shape the neck.
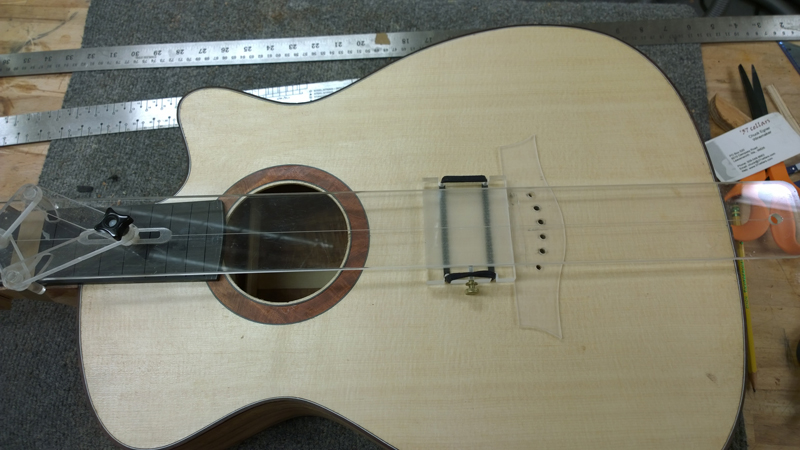
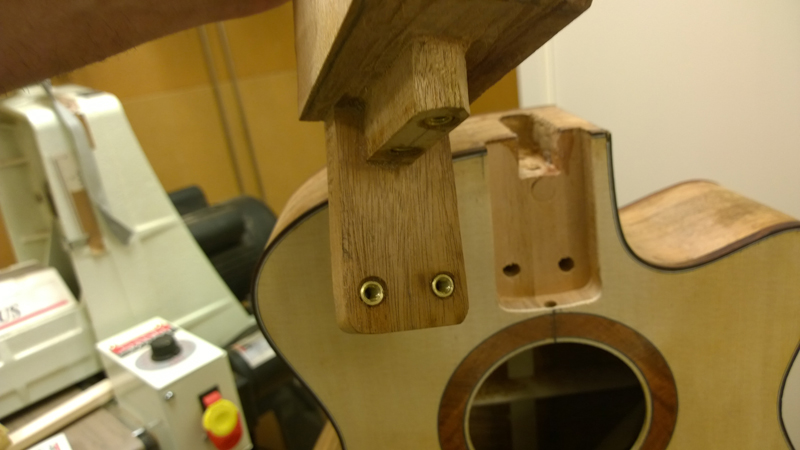
The book called out T-nuts but as my extension was not quite centered I would have been very tight on the treble side to mount the T-nuts. I used brass inserts instead. I had the extension clamped to help avoid blowing out the side when screwing in the inserts.
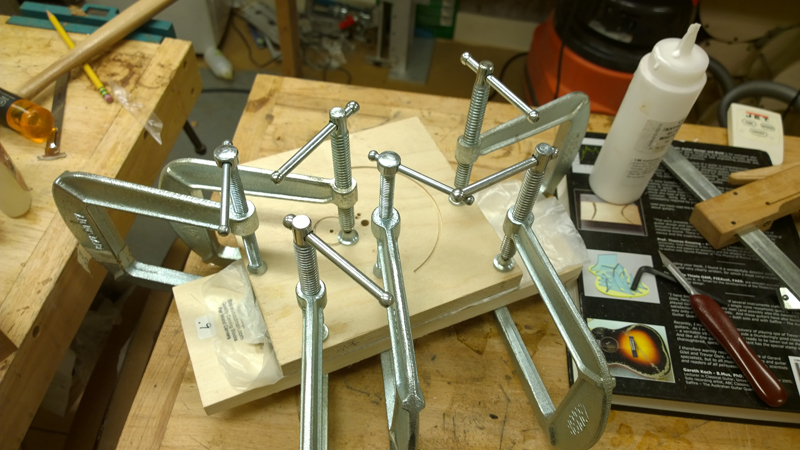
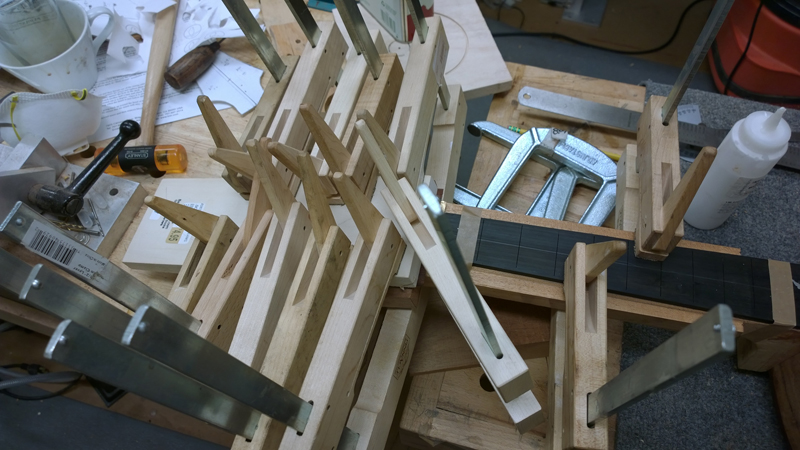
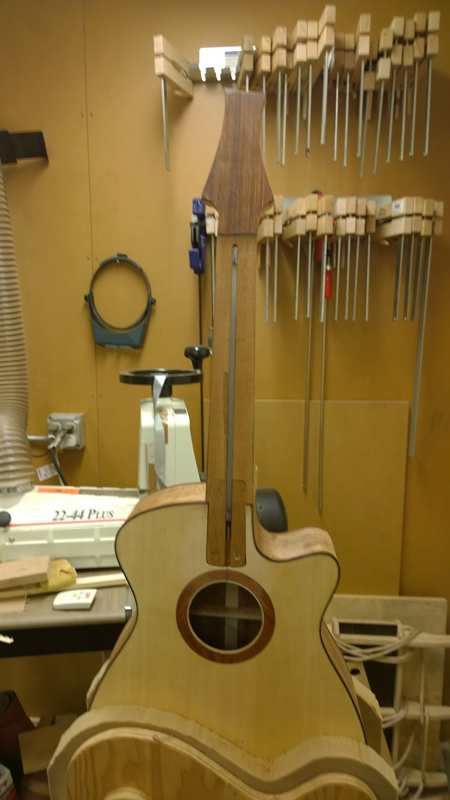
Now I with everything ready to glue on the fretboard I placed a couple of dabs of silicon on under the truss rod, tested my fret board alignment again, and then glued the fret board on with a fret board caul that puts pressure on the edges of the fret board.
Should look like a guitar by the end of the week!
Well I am getting closer; I glued up a stack of veneer and white and black fiber for the head stock. I pressed it in one operation using LMI white glue. The book suggested epoxy, but given that this was fiber sheets I did not think that it would be relatively stable with the moisture in the glue. The glued up stack did not warp.
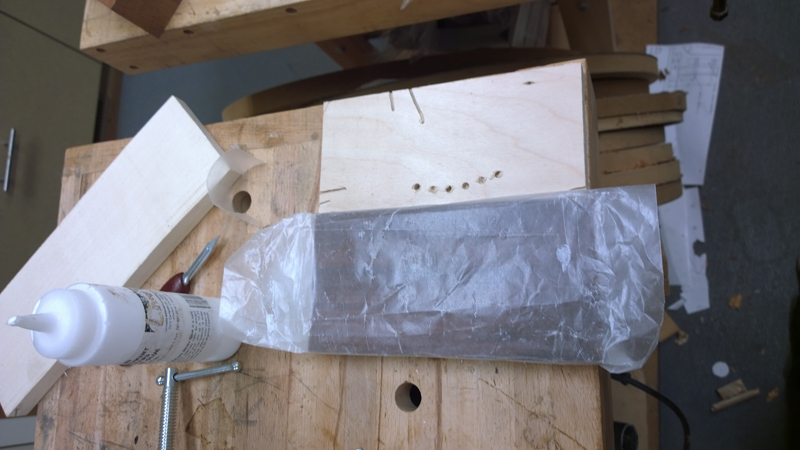
I made a 15% wedge and planed the nut side of the veneer.
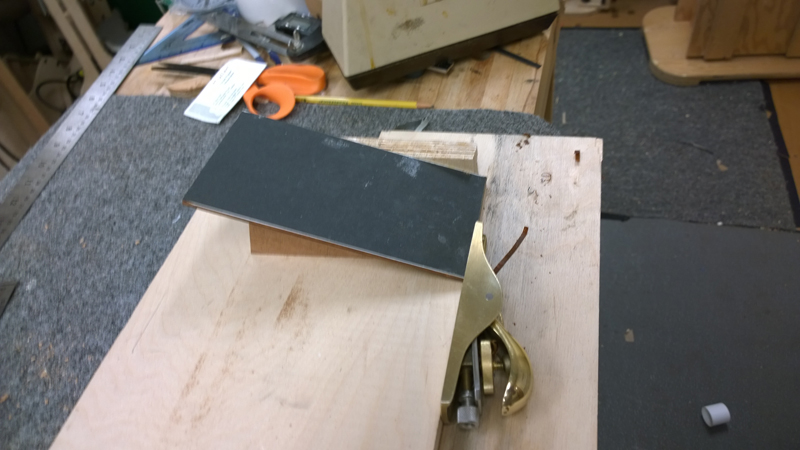
Before gluing on the head stock veneer I made triply sure that I had the fret board clamped in the right angle as I used the fret board, and a brass bar to position the head stock veneer. Then I glued it on with a bunch of clamps.
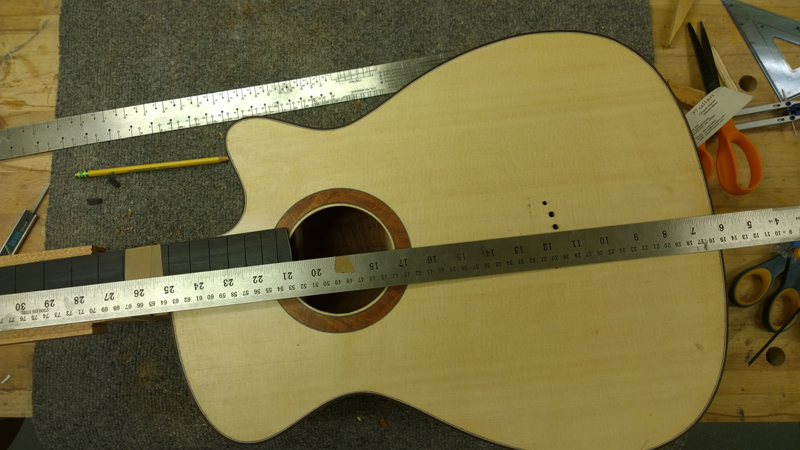
I roughly cut the headstock shape out with my band saw and used my safe_T planer to get the head stock thickness close.
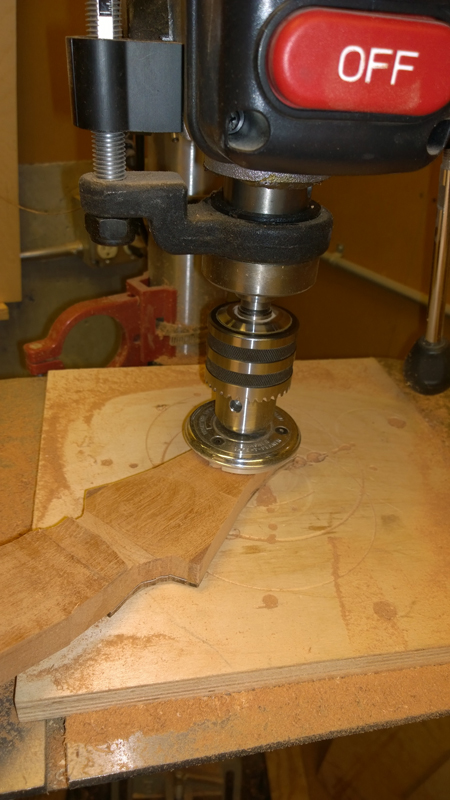
I have had the fret board stuck to the neck with a couple of pieces of double sided tape. To finish the bolt on extension I need to remove the fret board. Before doing so I drilled four 1/32" alignment pin holes through a couple of fret slots into the neck. Not so deep that they will come out the other side when I shape the neck.
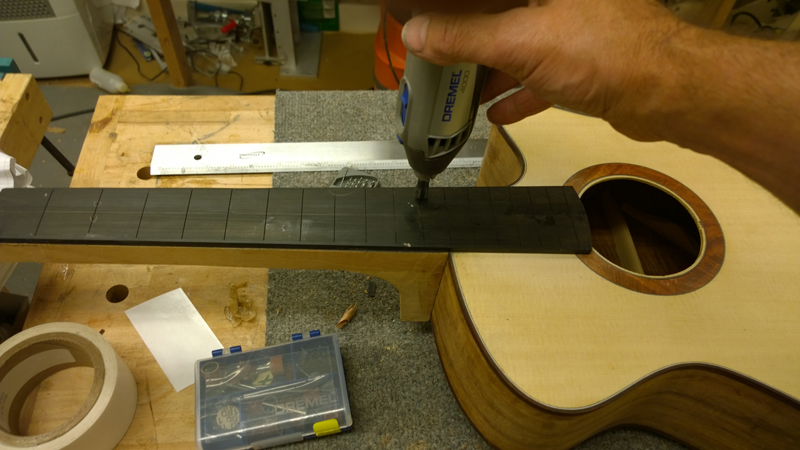
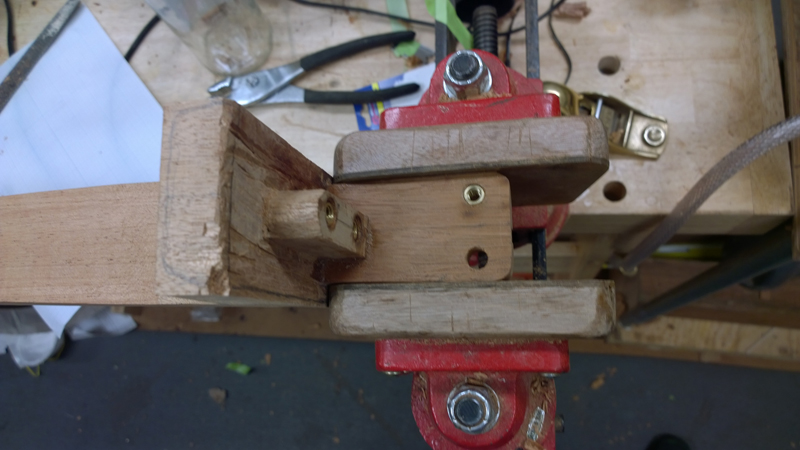
The book called out T-nuts but as my extension was not quite centered I would have been very tight on the treble side to mount the T-nuts. I used brass inserts instead. I had the extension clamped to help avoid blowing out the side when screwing in the inserts.
Now I with everything ready to glue on the fretboard I placed a couple of dabs of silicon on under the truss rod, tested my fret board alignment again, and then glued the fret board on with a fret board caul that puts pressure on the edges of the fret board.
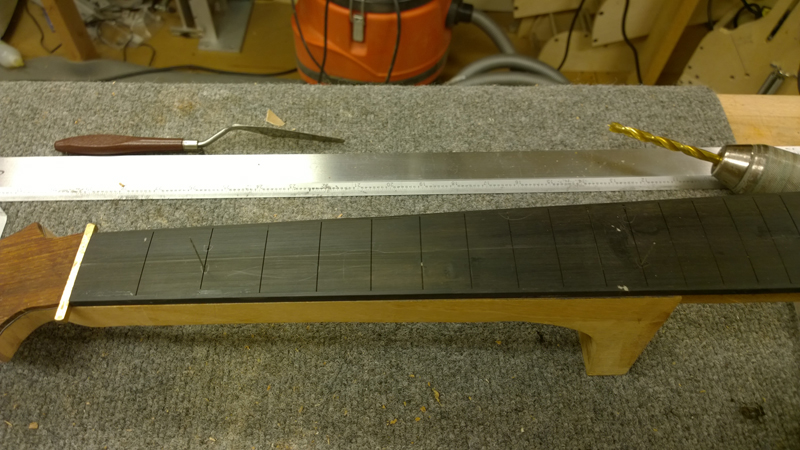
Should look like a guitar by the end of the week!
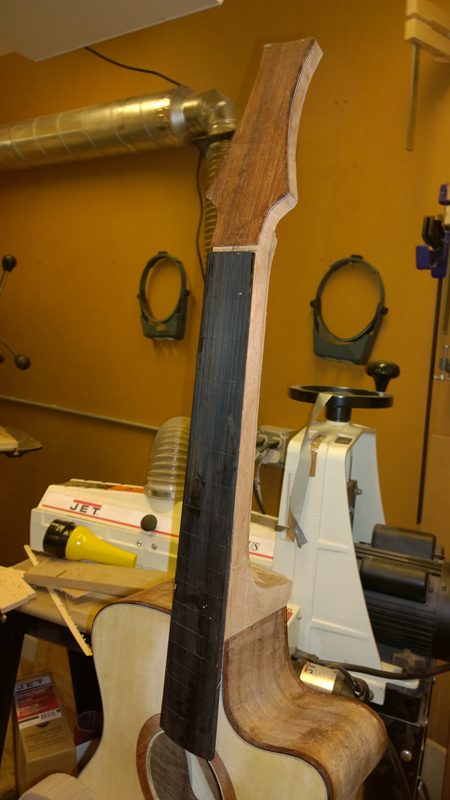
- Nick
- Blackwood
- Posts: 3639
- Joined: Thu Feb 26, 2009 11:20 am
- Location: Christchurch, New Zealand
- Contact:
Re: Build thread for first Gore SS from the plans in the boo
Looking good so far John, I've been enjoying your build. Good to see how you've strategically placed "the Book" in shot in the last pic!
"Jesus Loves You."
Nice to hear in church but not in a Mexican prison.
Re: Build thread for first Gore SS from the plans in the boo
Yeah but the book looks a bit too clean. Mine is covered in sh*t and there's part of a Carbatec invoice stuck to the back cover.Nick wrote:Looking good so far John, I've been enjoying your build. Good to see how you've strategically placed "the Book" in shot in the last pic!
Martin
- charangohabsburg
- Blackwood
- Posts: 1818
- Joined: Sat Oct 16, 2010 1:25 am
- Location: Switzerland
Re: Build thread for first Gore SS from the plans in the boo
Looks good John. It took me a while to browse through your last batch of pictures, and I don't want to think of how much time it cost you to take them. Thank you for the effort, I really appreciate it.
It's always nice to see people working, I could watch for hours.
Pictures please, or I don't believe it!kiwigeo wrote: [...] Mine is covered in sh*t and [...]
Markus
To be stupid is like to be dead. Oneself will not be aware of it.
It's only the others who suffer.
To be stupid is like to be dead. Oneself will not be aware of it.
It's only the others who suffer.
Re: Build thread for first Gore SS from the plans in the boo
I am following this thread very carefully as my intention is to build a falcate OM . The threads from the may ANZLF thread on ukes may 2012 were used to build some vy succesful pineapple falcate tenor ukes. Keep up the good work and photos john
-
- Blackwood
- Posts: 552
- Joined: Mon Jan 21, 2013 2:59 am
- Location: Seattle
- Contact:
Re: Build thread for first Gore SS from the plans in the boo
Thanks for looking,
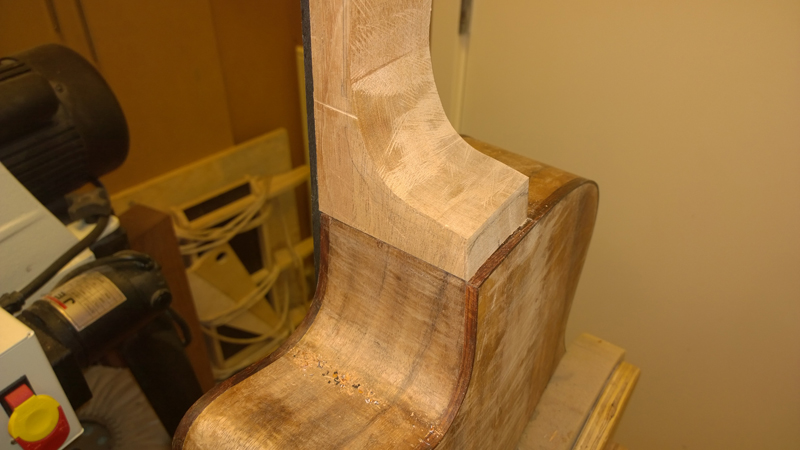
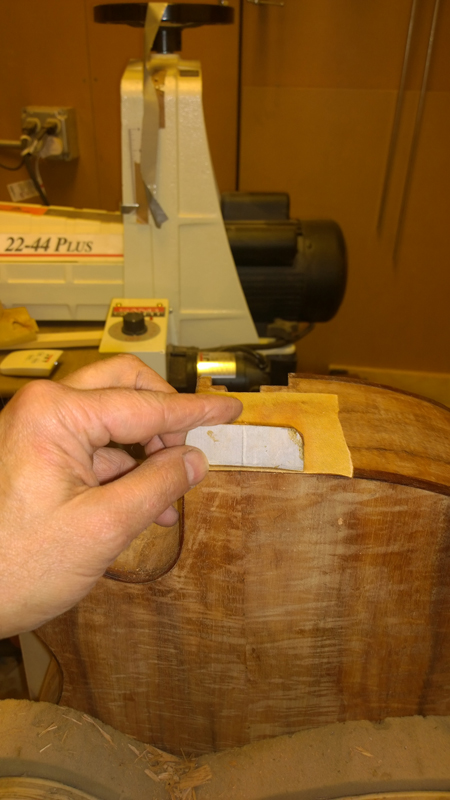
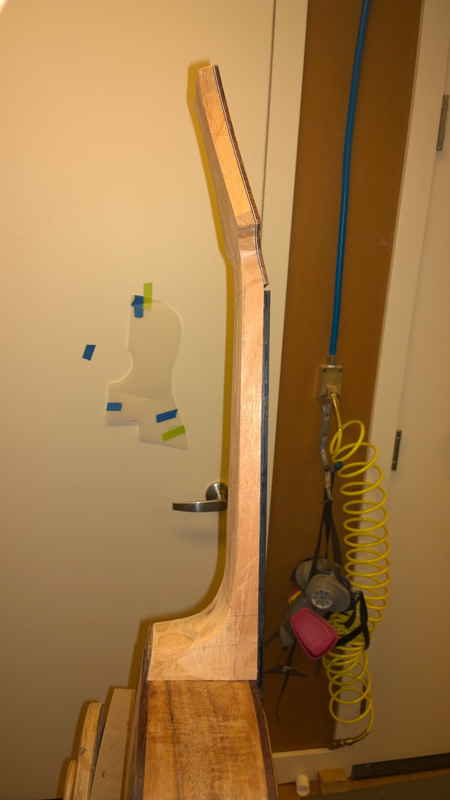
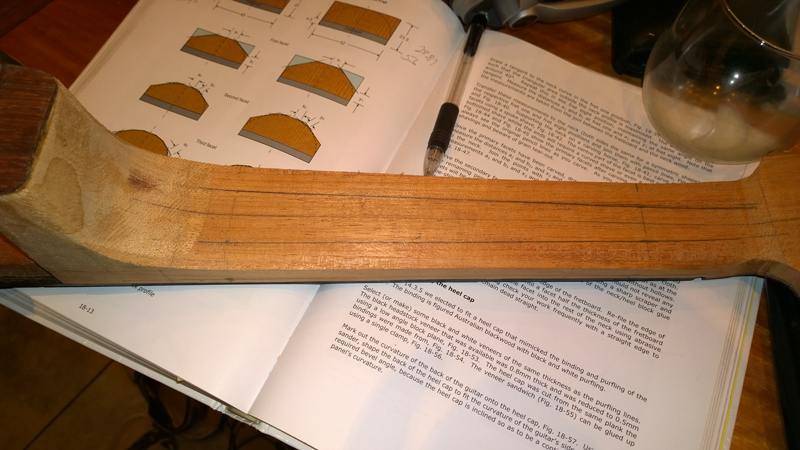
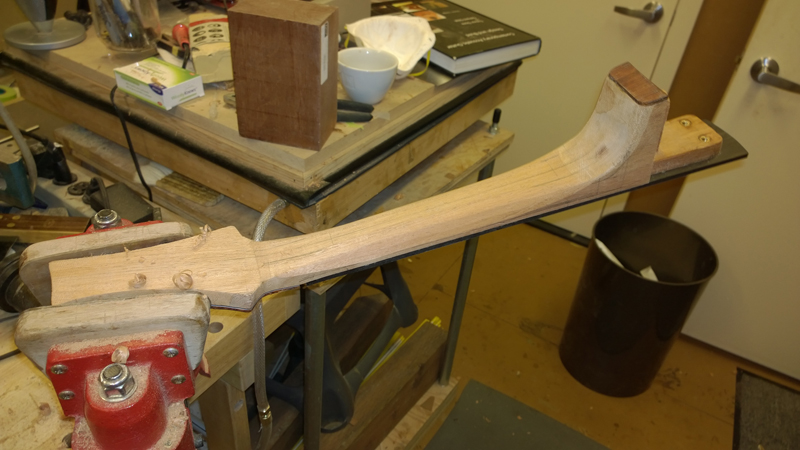
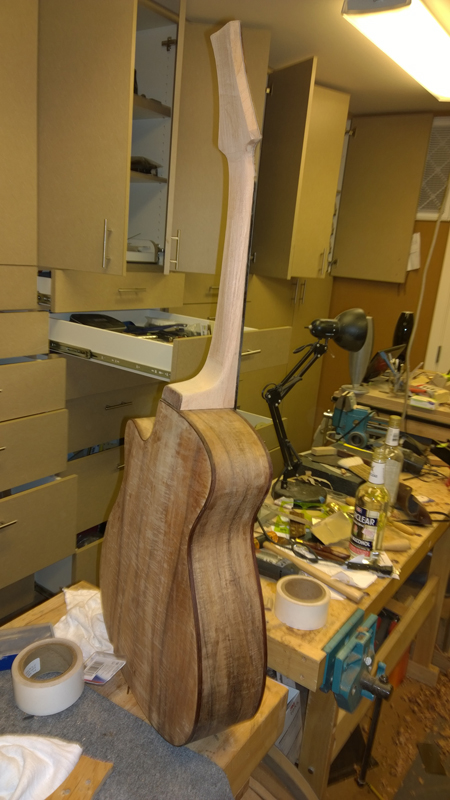
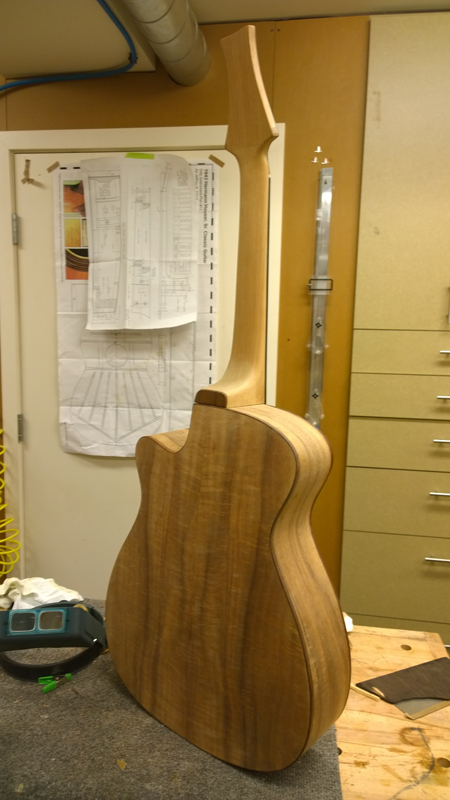
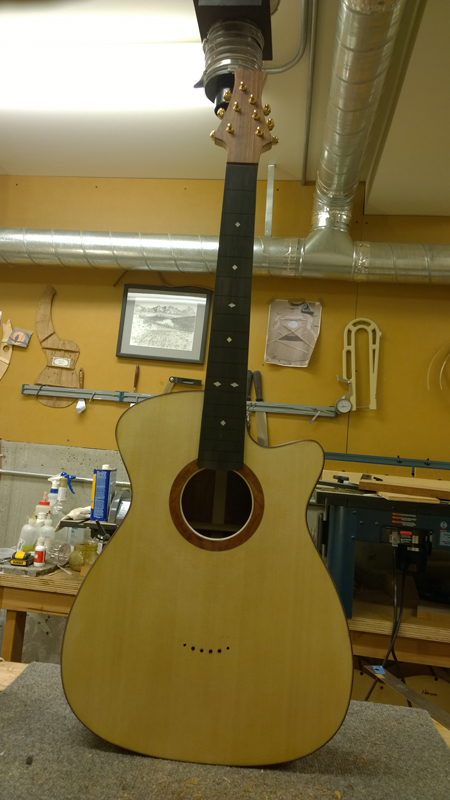
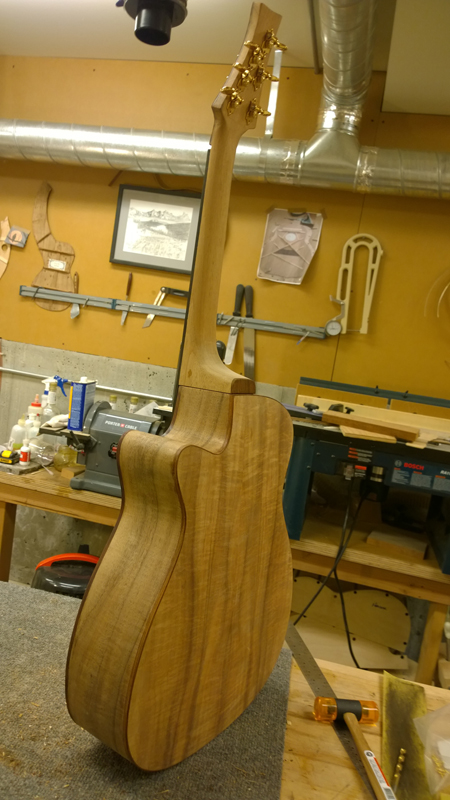
With the fret board glued on I made and glued on a heal cap. I put a strip of sandpaper on the rims so that I would have a clean line at the bottom of the cap as the body has a bit of an arc across the heal.
With the cap on I drew out a group of layout lines on the back of the neck and quickly rough carved the neck. I have a bunch of quality time left now with sand paper but all and all it starts to look like a guitar.
Re: Build thread for first Gore SS from the plans in the boo
Nice work john .I notice that omnipresent bottle of everclear.Does it tempt you? Keep mine in the bsmt with finishing supplies. Have you figured out the extra time doing a falcate over the conventional bracing patterns??thanks an keep on truckin.
-
- Blackwood
- Posts: 552
- Joined: Mon Jan 21, 2013 2:59 am
- Location: Seattle
- Contact:
Re: Build thread for first Gore SS from the plans in the boo
With my slow build schedule the difference between a falcate top and an X-brace top was not that large in terms of my overall schedule. The biggest difference for me, ignoring the the time it took to make the jigs and forms for the laminating the braces, was the multiple calendar days while waiting for the epoxy to cure. I think over all it took me four sessions gluing on the different braces. I let the epoxy cure overnight each time thus the difference. If I was pressed for time, while the top was sitting in the gobar deck I could have filled in the time. Overall the hands on time was not really that much different. With the falcate bracing I spent more time before a brace was glued down and a lot less time after.
Because of the early placement of the bridge, the build process requires a lot more precision to get a functional guitar vs the Martin copy where a lot of errors can be fixed at the end. This precision probably a good thing overall for me to achieve. It did have me checking and rechecking where I was at through out the build process.
Overall the difference between a falcate top and an x-braced top in work is much less than having a Venetain cutway vs no cutaway.
Once setup with jigs the process of a bolt-on bolt-off neck vs a more traditional bolt-on neck requires minimal additional work for the value of both the supported extension and the bolt off feature.
I manage to hold off drinking the Everclear. If gin was usable for shellac there would have been more of an issue.
Re: Build thread for first Gore SS from the plans in the boo
Thanks for the detailed explanation about the everclear and your thoughts on the differences between falcate vs X bracing it is highly appreciated .I like tradtional gtrmaking , but aknowledge that there are many ways to build a gtr especially would like to hear what the guitar will sound like once it/s done. Are you able to post sound clips.?? I posted a sound clip of my falcate uke on the uke section of the OLF.Think most on the OLF are geared towards the more traditional approaches a la gibson/martin etc. So I was pleasantly surprised to see all these great photos of your build john. here on the ANZLF . When I laminated my falcate braces for the pineapple tenor falcate uke .I used laminated englemann with the CF . I just used fish glue from lee valley and it worked vy well indeed . I do have system 3 epoxy. But just wanted to see how tough fish glue can be, I used a WRC top. I used the nail jig on melamine like in the gore book with spring clamps worked vy well thanks once again for all the great pics.john. PS I still need to build some more dedicated jigs for the OM build.
Re: Build thread for first Gore SS from the plans in the boo
Coming along nicely!
-
- Blackwood
- Posts: 552
- Joined: Mon Jan 21, 2013 2:59 am
- Location: Seattle
- Contact:
Re: Build thread for first Gore SS from the plans in the boo
Thank you Allan and Ernie and all who are looking,
I am closing things up. I spent some more time on the neck profile so it does not look so chunky to me, also it feels good in the playing positions.
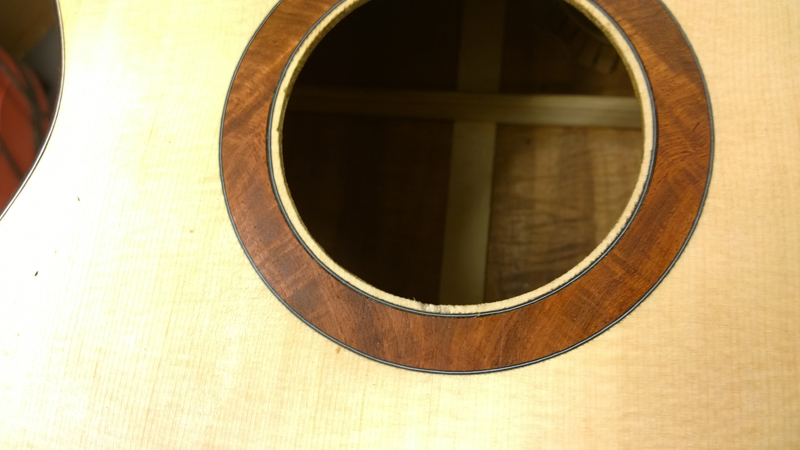
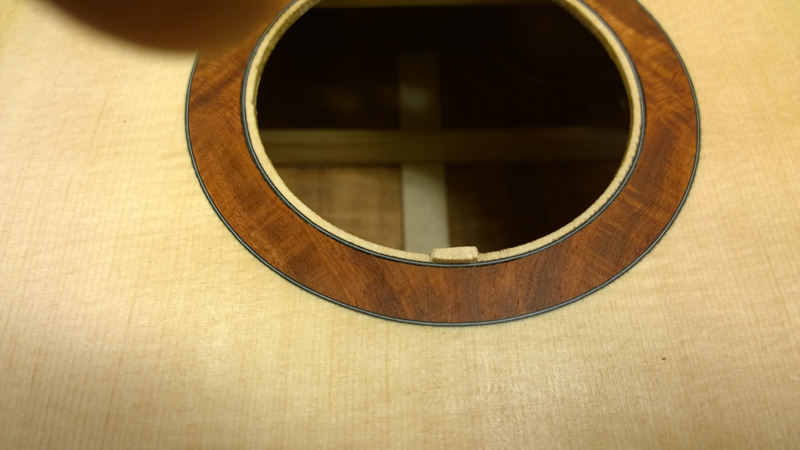
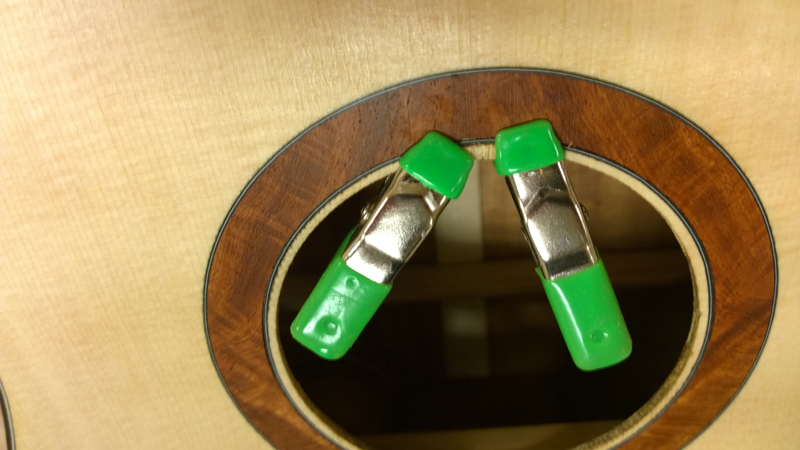
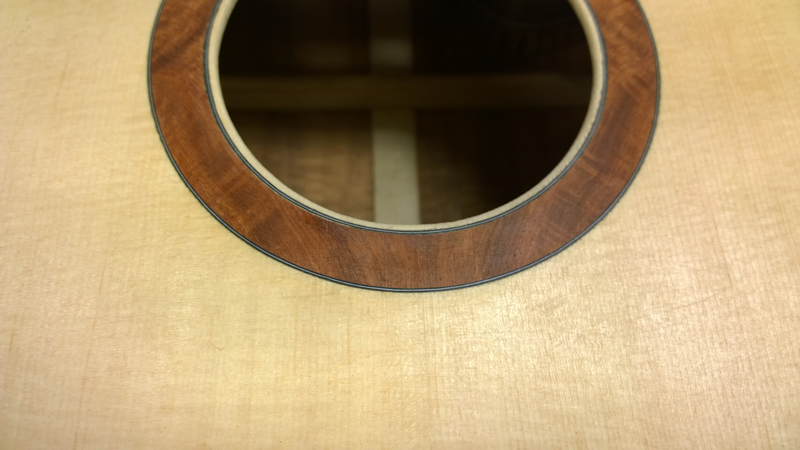
I also spent sure all of the bindings are flush on the rims. Filled a couple of gaps. One repair I had to make was to the spruce between the rosette and the sound hole. Somewhere along the line I knocked a bit of it out. Luckily I have a spruce ring underneath so I had a ledge to build up. I shaped a small piece of spruce from the cutoff to fill the cleaned up chip and glued it in with hot hide glue. It is hard to see the repair.
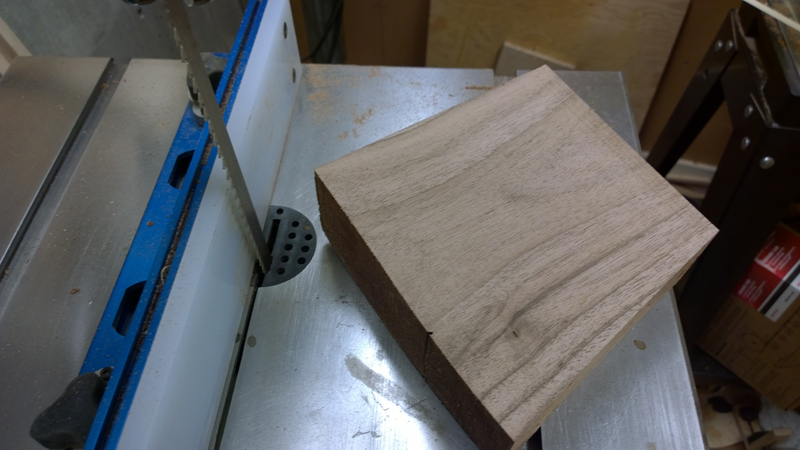
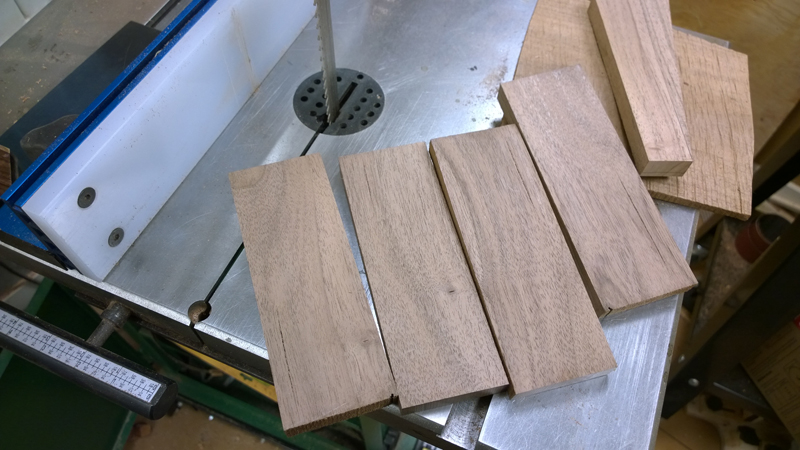
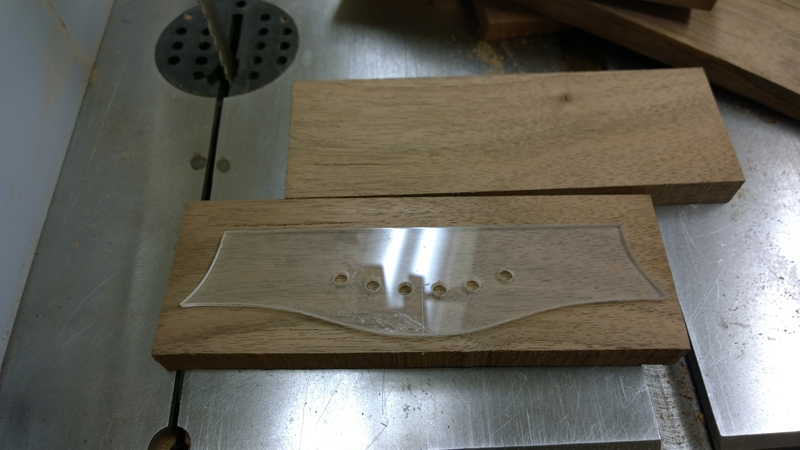
While I was waiting for the glue to cure I sliced up a block of walnut to use when I make my bridge. As in the book I will make a carbon fiber reinforced bridge and will ebonize the walnut. I will start rusting some steel wool tomorrow to make the solution. I never tried it before so it should be interesting.
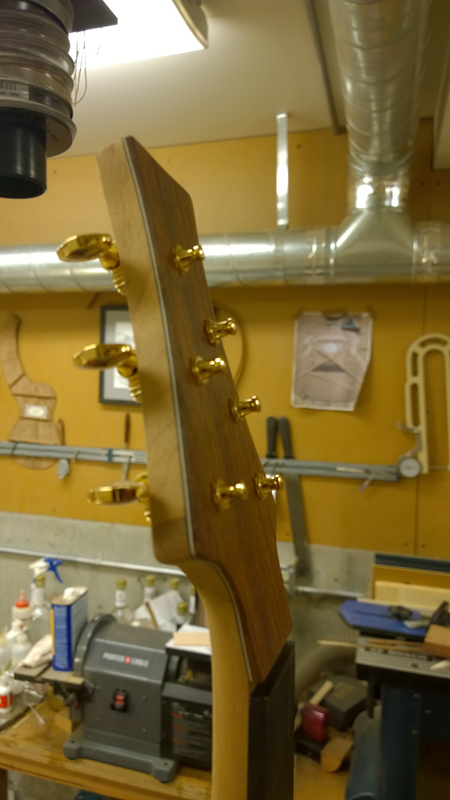
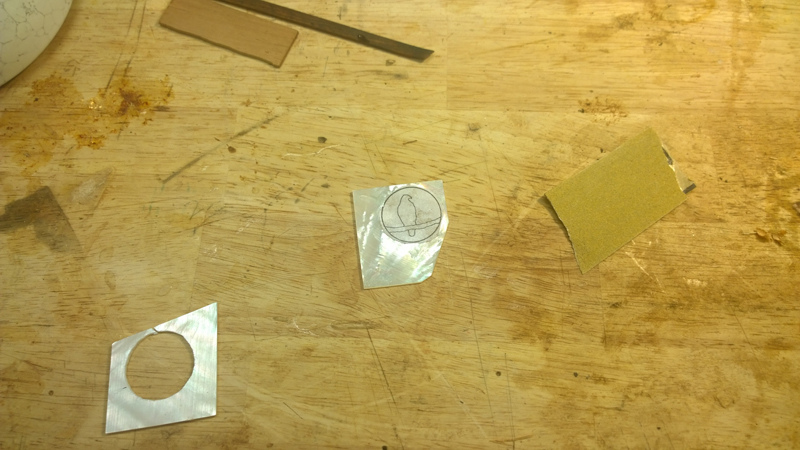
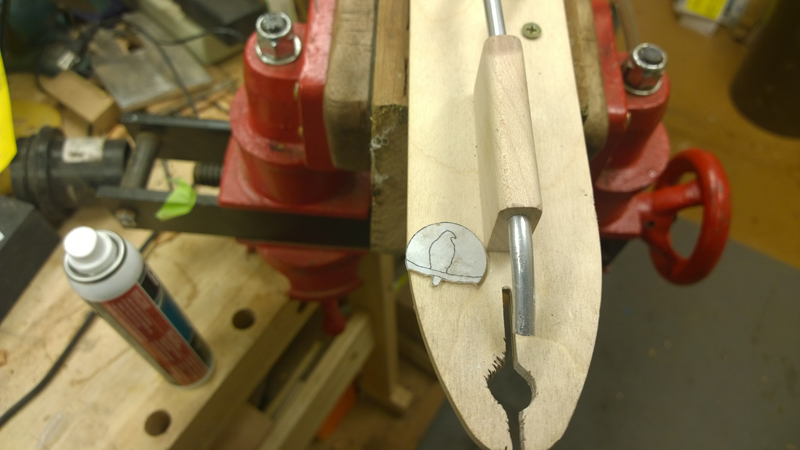
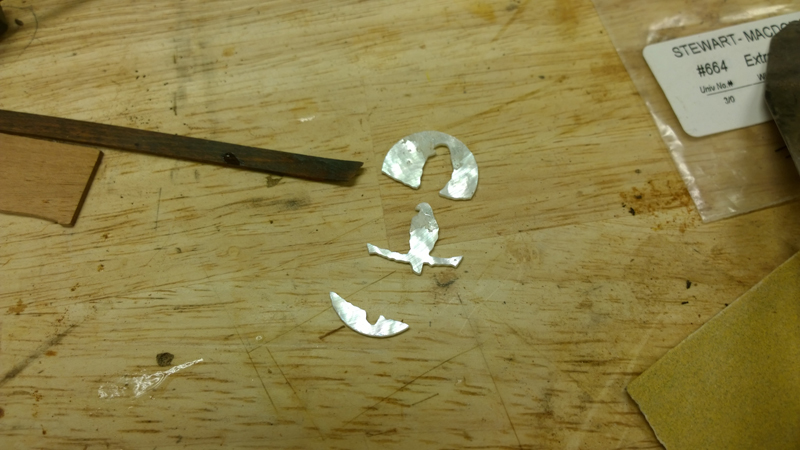
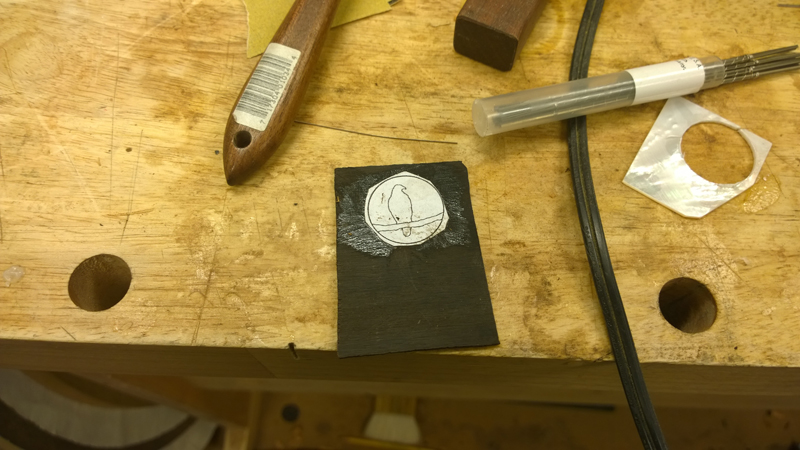
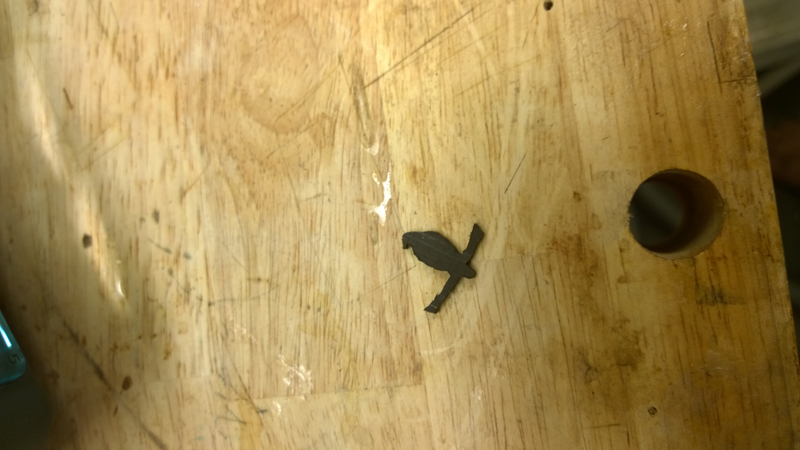
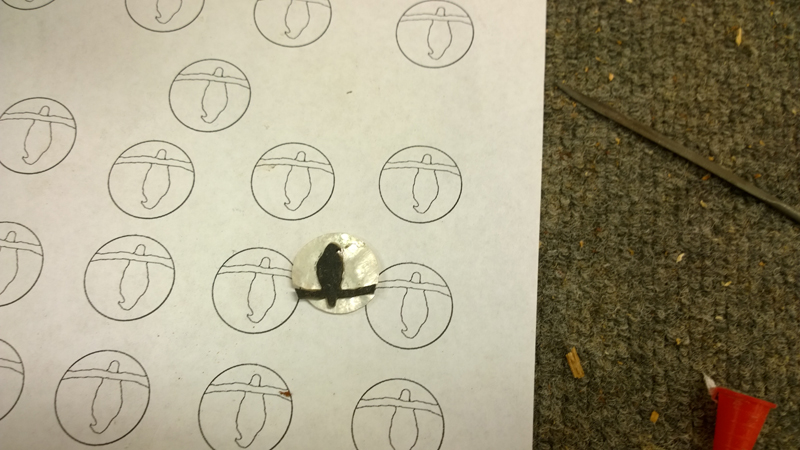
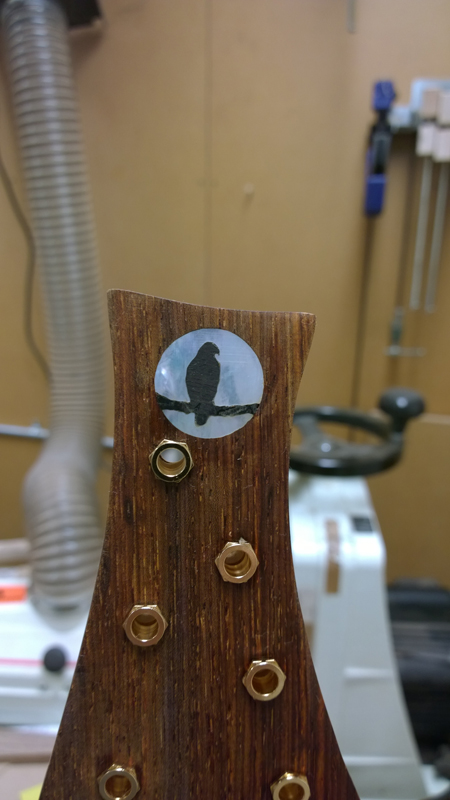
Tomorrow, drill for the tuner holes, inlay fret markers and make and inlay my hawk and moon logo in the head stock.
Re: Build thread for first Gore SS from the plans in the boo
John FWIW , I also built the walnut veneer/cf bridge but haven/t used it yet. Back in my cabinetmaking era in vancouver bc I tried using the vinegar/steel wool dye .I found that it took quite a few applications to get the item black.2 weeks ago I stained a walnut uke pin bridge using an NGR black dye from woodfinishing enterprises I got it from woodworkers supply in new mexico. Your local woodcraft might have something similiar. The ngr stain works much faster and does a better job IMHO and then you can oil it varnish whatever, buff etc ngr stands for non-grain raising. Project looks good so far.
-
- Blackwood
- Posts: 552
- Joined: Mon Jan 21, 2013 2:59 am
- Location: Seattle
- Contact:
Re: Build thread for first Gore SS from the plans in the boo
Thanks Ernie I will use the dye as you suggest.
I am getting closer ... a few more pictures.
- Trevor Gore
- Blackwood
- Posts: 1629
- Joined: Mon Jun 20, 2011 8:11 pm
Re: Build thread for first Gore SS from the plans in the boo
John,
The trick (for me, anyway!) in dying the bridge is not to dye it totally black, because it ends up looking like it's been painted. The more tannin there is in the wood, the darker the stain. If everything is warm when the rusty nail brew is applied, and there is plenty of tannin, the wood will go black under your brush like you're applying paint, but with a good bit more penetration. Colder and less tannin and you can get all shades from reddish brown through to jet black. Having tried wood dyes, I went back to the rusty nail brew as I found I could get the shades I wanted.
As ever in these things, experimentation and experience counts.
Fine classical and steel string guitars
Trevor Gore, Luthier. Australian hand made acoustic guitars, classical guitars; custom guitar design and build; guitar design instruction.
-
- Blackwood
- Posts: 552
- Joined: Mon Jan 21, 2013 2:59 am
- Location: Seattle
- Contact:
Re: Build thread for first Gore SS from the plans in the boo
Thanks Trevor,
I will give the rusty solution a try. I have time to experiment and to make it right.
Re: Build thread for first Gore SS from the plans in the boo
Trev, the only viable wood here in the usa that I know has tannins are the oaks specifically white and red, from what I know of,the e. black walnut here in KC has little or no tannin. I/m guessing the walnut john has might be the same. My vinegar tests on furniture ,.were done on red oak wood when I tried it .I was living in vancouver bc cool and damp climate which has only ornamental oaks My testing created a more greyish type colour which I did not care for .The dyes here in the usa do a much better job. Perhaps my technique was flawed .But I remember getting the recipe from fine woodworking magazine. I find that black ngr dyes are also more resistant to fading and do not raise the grain as the vinegar/steel wool solution.
-
- Blackwood
- Posts: 552
- Joined: Mon Jan 21, 2013 2:59 am
- Location: Seattle
- Contact:
Re: Build thread for first Gore SS from the plans in the boo
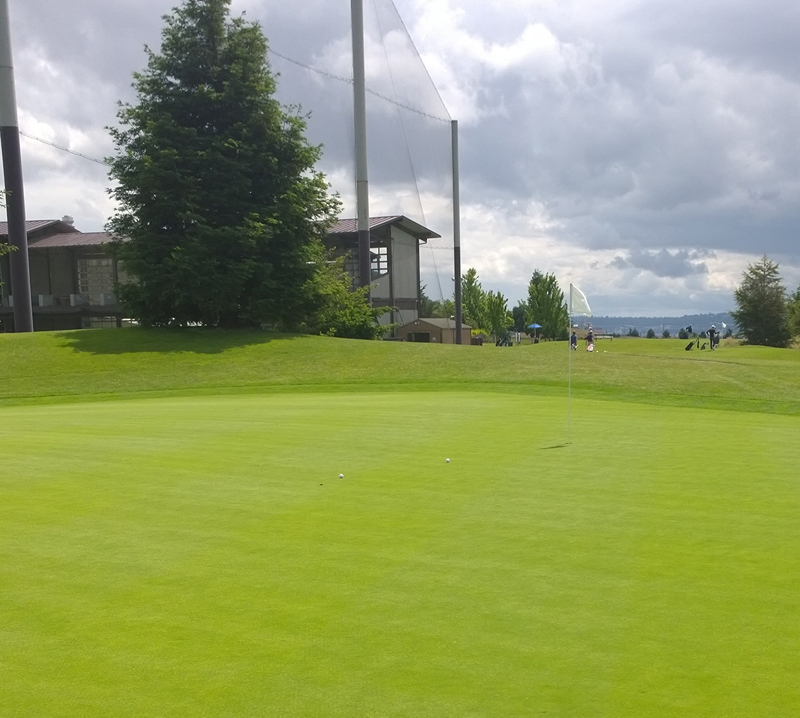
First the important things in life. My best shot from the tee all day and fathers day at that, my son followed me. He had to show me up
I cut an installed my logo so the body and neck are finished! This was mt best work with the logo. I actually managed to make the logo round so that it fit in the drilled 1" hole
- Trevor Gore
- Blackwood
- Posts: 1629
- Joined: Mon Jun 20, 2011 8:11 pm
Re: Build thread for first Gore SS from the plans in the boo
I've no idea where in the US my American Black Walnut comes from, but it's not short on tannins. And I guess "black" is in the name for a reason. Clearly, it can vary by piece and if the piece you have is lacking, it's possible to add more just by pre-coating with hot, strong, Irish tea. I guess other types of tea will work too.ernie wrote:Trev, the only viable wood here in the usa that I know has tannins are the oaks specifically white and red, from what I know of,the e. black walnut here in KC has little or no tannin. I/m guessing the walnut john has might be the same. My vinegar tests on furniture ,.were done on red oak wood when I tried it .I was living in vancouver bc cool and damp climate which has only ornamental oaks My testing created a more greyish type colour which I did not care for .The dyes here in the usa do a much better job. Perhaps my technique was flawed .But I remember getting the recipe from fine woodworking magazine. I find that black ngr dyes are also more resistant to fading and do not raise the grain as the vinegar/steel wool solution.
Here's an article on ebonizing:
http://www.popularwoodworking.com/techn ... izing_wood
but this has a tendency to produce the jet black painted look which is not what I prefer. For tannin additives, there are many sources, from common tea, to tannin additives you can get from home brewing shops, to good old common wattle bark, which, apparently, used to be a major source of concentrated tannin.
I had to use tea on one stick of walnut I had, but the rest I've used "straight". I also found the whole process quite temperature dependent, which is also a means of colour control. Compared to the dyes I tried, I get much greater penetration. The result is sandable, which it never was with the dyes I tried.
Here's a pic that came from the original popular woodworking article:
"Different woods, same result. Three samples of ebonized wood (oak, walnut and maple) showing color consistency with the stain the grain variations being prominent".
This stuff paints on as a clear solution, so the chemical reaction happens in the wood, which is why it's sandable, providing you don't go mad!
Fine classical and steel string guitars
Trevor Gore, Luthier. Australian hand made acoustic guitars, classical guitars; custom guitar design and build; guitar design instruction.
Re: Build thread for first Gore SS from the plans in the boo
Looking closely at the pics I see you do have a different coloured walnut trev . than I .The local walnut here in KC is got a definite bluish cast to it. I have some 200yr old recycled walnut from a historic home that looks similiar to the walnut in your pic in that it is a flatter lighter colour of brown. I will make some test samples with both the dye and vinegar on the 2 types of walnut I have .Have tea as well as some tannic acid, will see what happens Thanks Trev. who knew? I have more questions on another thread
-
- Blackwood
- Posts: 552
- Joined: Mon Jan 21, 2013 2:59 am
- Location: Seattle
- Contact:
Re: Build thread for first Gore SS from the plans in the boo
I have two solutions started, one vinegar with clean steel wool, for the second I started to rust steel wool. I will add vinegar after it rusts.
We shall see in a week or so. I have a lot of scrap and my wood looks the same as in the picture, so I am hopeful. I can try tree bark or black tea as a second option if my results do not look good.
Re: Build thread for first Gore SS from the plans in the boo
I read the article posted by Trev very illuminating. Didn/t realize that furnituremakers were also ebonizing their work. I was going to start the vinegar/ steel wool. Got bogged down with building. The article jogged my brain,and I think the previous soloution 27 yrs ago broke out of the container , as it was not vented.
-
- Blackwood
- Posts: 552
- Joined: Mon Jan 21, 2013 2:59 am
- Location: Seattle
- Contact:
Re: Build thread for first Gore SS from the plans in the boo
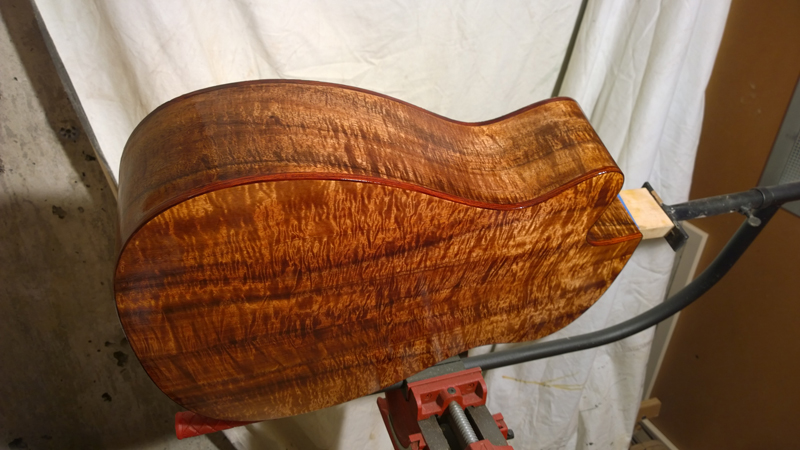
I really like when I can really see the wood. I started the zpoxy fill on the body and neck.
- DarwinStrings
- Blackwood
- Posts: 1877
- Joined: Thu Nov 13, 2008 10:27 pm
- Location: Darwin
Re: Build thread for first Gore SS from the plans in the boo
Nice John, looks like a Gore guitar to me. Cool silhouette inlay, am a bit of a fan of combination pearl and wood inlay.
Jim
Jim
Life is good when you are amongst the wood.
Jim Schofield
Jim Schofield
- Nick
- Blackwood
- Posts: 3639
- Joined: Thu Feb 26, 2009 11:20 am
- Location: Christchurch, New Zealand
- Contact:
Re: Build thread for first Gore SS from the plans in the boo
Ahhhh love it when the jam starts to go on and the grain finally pops (especially on figured Blackwood ), icing on an already sweet cake.
"Jesus Loves You."
Nice to hear in church but not in a Mexican prison.
-
- Blackwood
- Posts: 552
- Joined: Mon Jan 21, 2013 2:59 am
- Location: Seattle
- Contact:
Re: Build thread for first Gore SS from the plans in the boo
The walnut I have will ebonize just fine, that is it has enough tannin in it. I started two batches of vinegar/steel wool one with an absolutely new and clean (I worked to wash out any oils) steel wool pad and the second with a steel wool pad I rusted with salt water and then washed out. The streak on the left was three days of one pad of 0000 steel wool in a quart of white wine vinegar, the right pad is two days of a somewhat rusted steel wool pad in a quart of vinegar. In both cases the steel wool has not dissolved even close to all the way.
The wood stained very quickly and is quite dark.
- Attachments
-
- ebonise.jpg (176.26 KiB) Viewed 25677 times
Who is online
Users browsing this forum: No registered users and 36 guests