Island workbench [reclaimed]
Posted: Wed Jan 28, 2009 9:13 pm
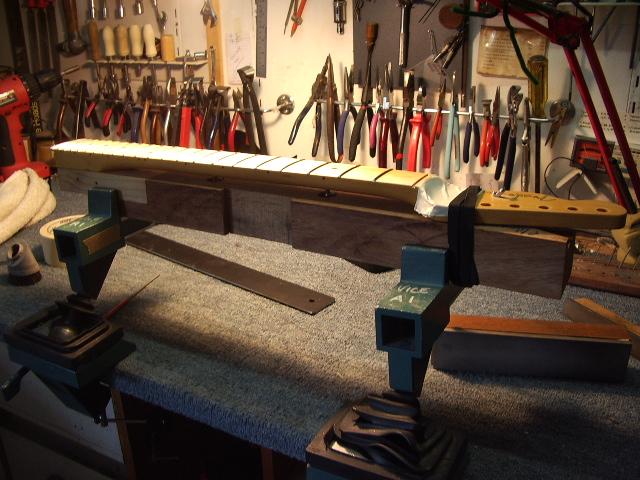
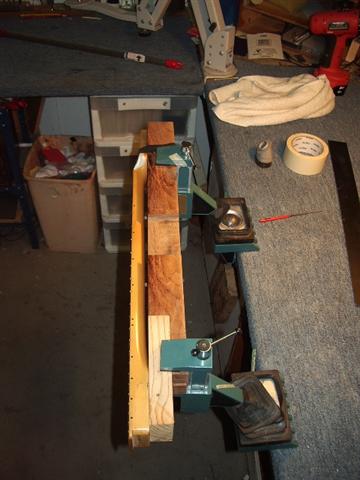
What another bench? Well yes but I did need it. Many of you may remember the one legged bench I featured in a past post, in my building shop. It was actually a bench grinder stand and had a large vice bolted to it, this allowed it to hold a host of different tables and fixtures.
I had two of these stands and had just unbolted the one featured here from the floor of my machine workshop, to make way for my new disc sander/linisher set up, [the set up was new not the sander]. Due to rain at the time, I hate the stuff now; enough is enough, I was looking to finish old jobs and start new ideas.
I recon you folks who are not getting any rain could pray a bit harder there’s plenty to go around, I cant get my workshop down from the 90% m/c to get close to the 50% I’d prefer.
Anyway, I had an island bench in the repair shop but it was a bit too cumbersome and hard to work around at times, so this is what I came up with. The day I finished it I went on to Stewmac’s website and saw the same idea displayed using their Erlewine Shop Stand.
However theirs showed a cool addition for converting it from acoustic guitar to electric guitar use. So I made my own version of that fitting, a small height adjustable auxiliary table that fits to the existing work table. In the Stumac version the post that supported the small table had holes in the side, it fitted though the main table as does mine but you had to put a long pin through the side of the table and locate it in the hole in the post that gave you the height needed.
In a flash, as I gazed into my trusty pre-used parts drawers, the solution hit me. The photos should tell the story, however here’s the run down.
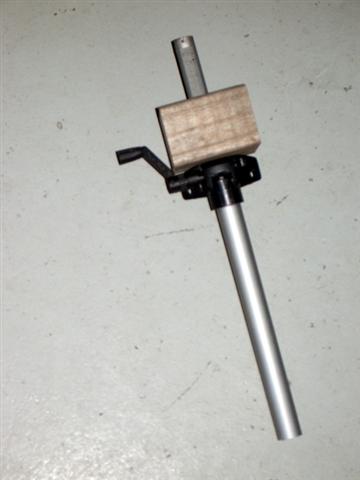
I removed the remaining two legs from the wrecked camera tripod. I had already used one of the legs.
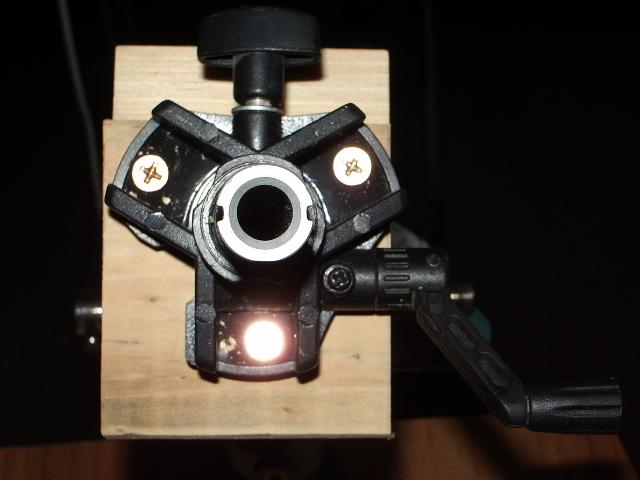
I stripped this centre fitting of any remaining unwanted bits [and saved them] leaving the windey upy bits in place
I cut a block of wood to accept this fitting, making allowances for the crank arm and tightening screw and bolted the two together.
After working out where to place this assembly I drilled a hole in the worktable for the shaft to go through
I then bolted the cranking assembly under the table.
I made the small auxiliary table to sit on top of the shaft as it comes up through the top of the worktable, and covered it with leather.
What could be easier? No having to fumble with pins to locate into shaft holes, just undo the locking screw and crank her up put the auxiliary table on top, done, too easy.
The main work table it also height adjustable, but not cranked up like the Stumac Shop Stand, but for a cost of about $70.00au for the grinder stand initially, something that I had no use for at the time, I can live with that. And that table height is not adjusted much anyway, only to fit my neck jig. A little bit of recycling goes a long way.
Hope you find this interesting……..by the way it’s still raining…..never mind inlays to be done tomorrow.
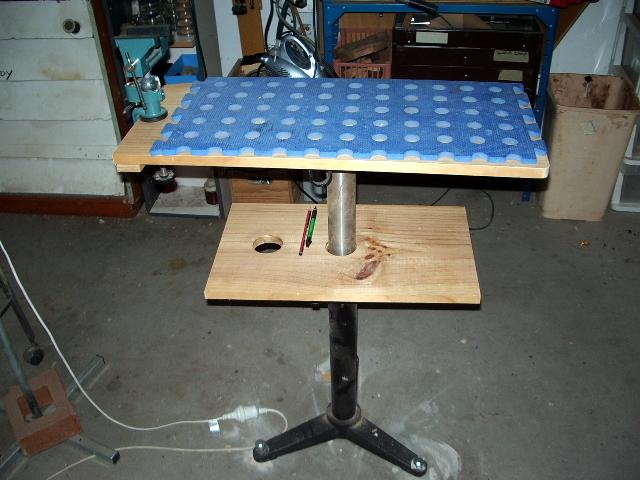
Before seeing Stumac's version
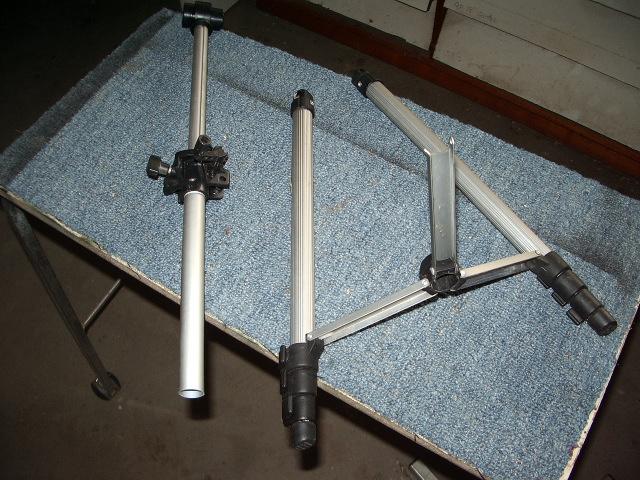
The bits
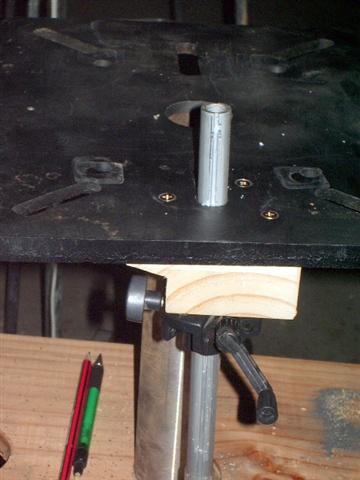
Bolted to Grinder table
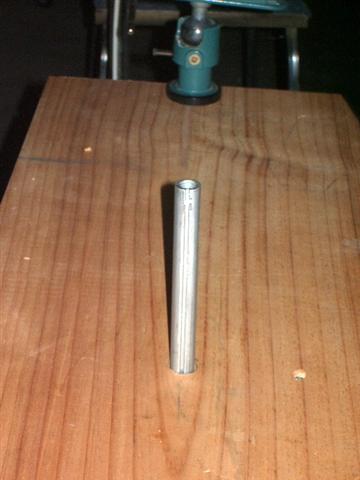
Up.....
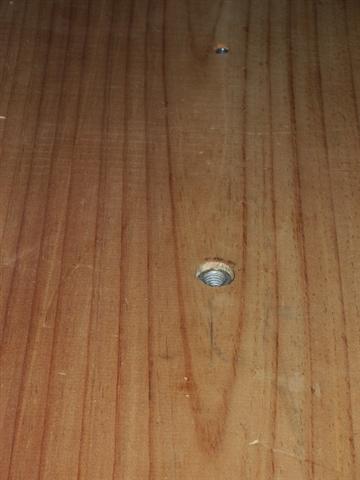
Down.....
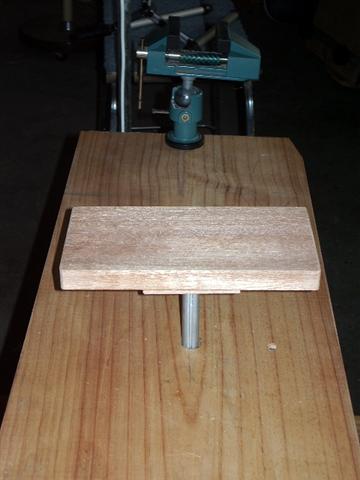
Auxiliary table
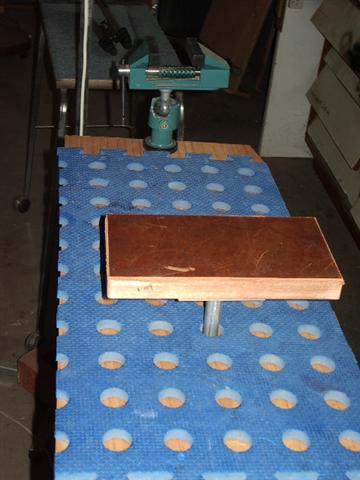
Completed Job
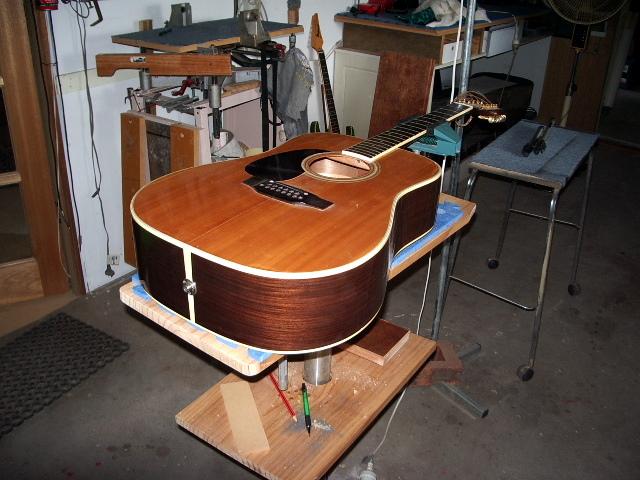
Acoustic, with old island bench/multivice in the background........
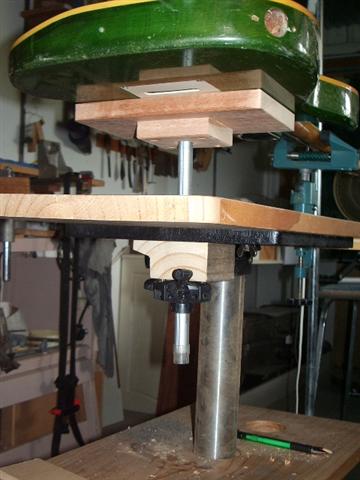
Electric & showing assembly under table......It's great for repairs working all around the guitar and no tools in the way. Thanks for looking.
I had two of these stands and had just unbolted the one featured here from the floor of my machine workshop, to make way for my new disc sander/linisher set up, [the set up was new not the sander]. Due to rain at the time, I hate the stuff now; enough is enough, I was looking to finish old jobs and start new ideas.
I recon you folks who are not getting any rain could pray a bit harder there’s plenty to go around, I cant get my workshop down from the 90% m/c to get close to the 50% I’d prefer.
Anyway, I had an island bench in the repair shop but it was a bit too cumbersome and hard to work around at times, so this is what I came up with. The day I finished it I went on to Stewmac’s website and saw the same idea displayed using their Erlewine Shop Stand.
However theirs showed a cool addition for converting it from acoustic guitar to electric guitar use. So I made my own version of that fitting, a small height adjustable auxiliary table that fits to the existing work table. In the Stumac version the post that supported the small table had holes in the side, it fitted though the main table as does mine but you had to put a long pin through the side of the table and locate it in the hole in the post that gave you the height needed.
In a flash, as I gazed into my trusty pre-used parts drawers, the solution hit me. The photos should tell the story, however here’s the run down.
I removed the remaining two legs from the wrecked camera tripod. I had already used one of the legs.
I stripped this centre fitting of any remaining unwanted bits [and saved them] leaving the windey upy bits in place
I cut a block of wood to accept this fitting, making allowances for the crank arm and tightening screw and bolted the two together.
After working out where to place this assembly I drilled a hole in the worktable for the shaft to go through
I then bolted the cranking assembly under the table.
I made the small auxiliary table to sit on top of the shaft as it comes up through the top of the worktable, and covered it with leather.
What could be easier? No having to fumble with pins to locate into shaft holes, just undo the locking screw and crank her up put the auxiliary table on top, done, too easy.
The main work table it also height adjustable, but not cranked up like the Stumac Shop Stand, but for a cost of about $70.00au for the grinder stand initially, something that I had no use for at the time, I can live with that. And that table height is not adjusted much anyway, only to fit my neck jig. A little bit of recycling goes a long way.
Hope you find this interesting……..by the way it’s still raining…..never mind inlays to be done tomorrow.

Before seeing Stumac's version

The bits


Bolted to Grinder table

Up.....

Down.....

Auxiliary table

Completed Job

Acoustic, with old island bench/multivice in the background........

Electric & showing assembly under table......It's great for repairs working all around the guitar and no tools in the way. Thanks for looking.
